Have you always wanted to bottle your own “I-put-that-shtuff-on” everything sauce or test your limits with a fiery face-melting concoction?
Well its a lot easier than you would think. The prep takes very little time. All you need is a little patience while your sauce ferments.
Fermentation of chilis dates back thousands of years as a method of preservation. This method was later turned into hot sauce and has been a popular condiment throughout Asia, Europe, Africa, and the Americas for centuries but it was not until the 1800’s that it was commercially bottled and sold.
I am going to take you through some steps to making a delicious fermented chili sauce that is sweet, spicy and tangy. You can also use this basic recipe as a guide to your own creation and add whatever spicy peppers your pallet desires (or can handle).
First thing to do is prep the vegetables.
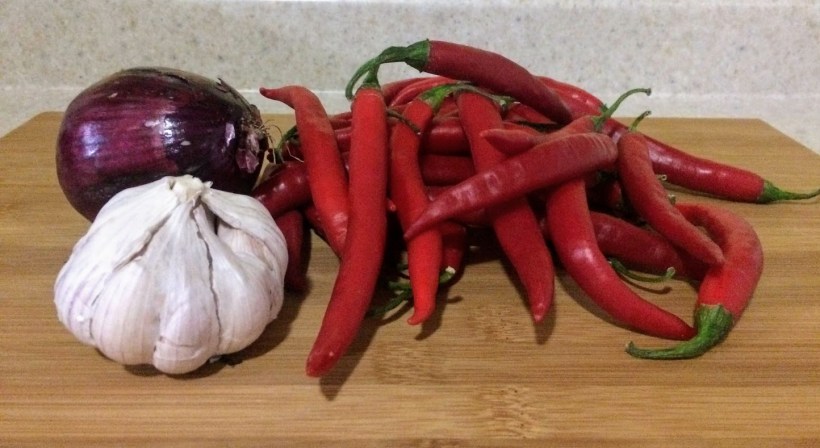
For this recipe, we will be using:
- 150 g (aprox. 5 oz) cayenne chillis
- 2 cloves of garlic
- 1/2 red onion
- kosher salt
- distilled water
Tools I recommend for this are:
- quart sized glass jar
- spray bottle
- pH strips
- oral syringe
- no-rinse sanitizer
- rubber cork (for quart jars)
- airlock
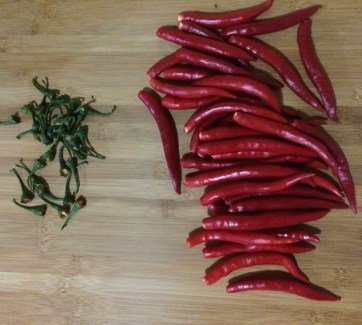
First thing to do is take the stems off the chilies. I recommend using kitchen gloves when handling the chilies so as not to transfer the spicy oils from the peppers to places that you don’t want spicy oils.
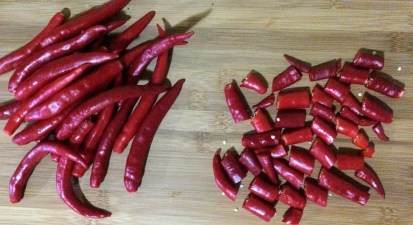
Next step is to simply chop up the chilies into smaller pieces.
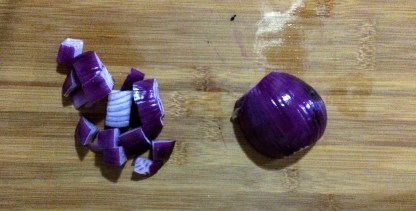
Now the dice the onion.
Peel the garlic and the bulk of your prep is done.
The next step is one of the most crucial for fermenting and it’s sanitizing your fermentation vessel. What I recommend for this is a no-rinse sanitizer like Star-San. you simply follow the instructions on your bottle to dilute the concentrated sanitizer with distilled water.
I also recommend buying some pH strips, a spray bottle, and oral syringes from your local pharmacy. It’s important to test the pH levels of your product. You use the syringes to better measure the concentrated sanitizer in small volumes while diluting.
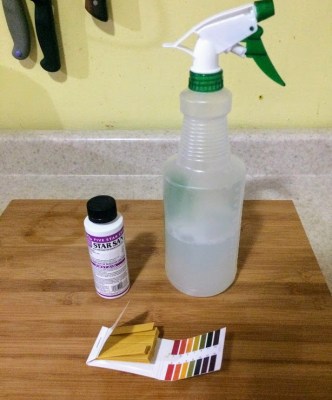
After you have made a sanitizing solution, pour it into a spray bottle then spray down the inside of your fermentation vessel. I am using a glass jar for my vessel which is fitted with a rubber cork and air lock.

You can find these at beer and wine making stores or online. They come in different sizes for different jars and are perfect for fermenting because they let the gasses escape from your vessel without having to periodically burp it. It’s good to routinely check up on your fermentations but using an airlock brings piece of mind. You won’t have to worry about things like forgetting to burp your jar and coming home to an exploded jar with the scent of fermented chilies permeating your home.
Now that your vessel is sanitized you can place all your vegetables inside the jar and add the salt. A good rule of thumb for fermenting is to use 2-3 tbsp of salt per liter of water. Since I am using a standard quart sized jar which is a bit under a liter, I used 2 tbsp.
To finish, just fill up your jar with distilled water leaving about 4 cm (1.5″) of space from the top and using some type of weight to keep the chilies submerged. I used an egg cup but pickling pebbles also work very well. Next fill the airlock up with water to the fill line and place it in the rubber cork and put the cork in the jar. It should look like this.

That is it for now, just place your vessel in your fermentation station and if you don’t have a fermentation station then a closet works just fine. For your first batch of sauce, I recommend you ferment it for a month. It will give the microbes ample time to break down the chilies and you will not be disappointed with the delicious flavor and probiotics that come with the wait.
So let the fermentation take place and check back in a month for the next part.
Part 2
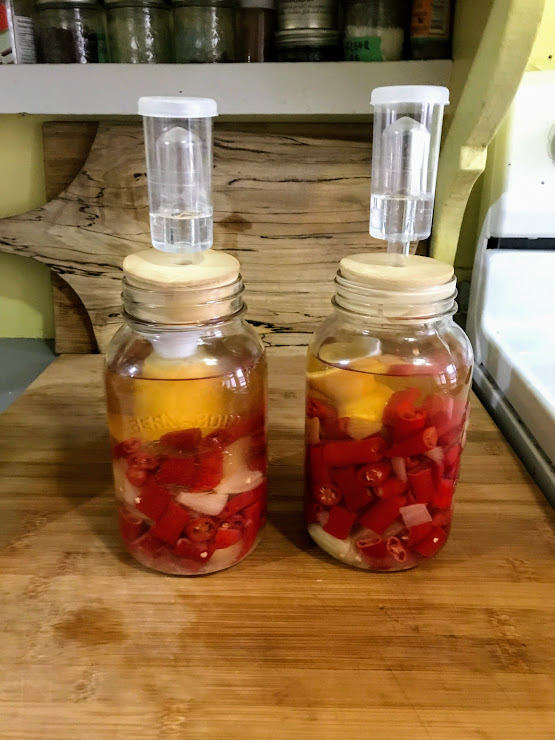
Now that you have patiently waited for a month it is time to finish the sauce. Be prepared that when you open the jar you will be met with a very strong odor that I love but is not loved by all. (Note: I made a double batch when creating this recipe which is why I have 2 jars in the picture shown above).
For this part you will want to have the following ingredients:
- 250 ml (1 Cup) raw cane sugar
- 250 ml (1 Cup) white vinegar
- 30 ml (2 tbsp) xantham gum
The sugar will sweeten the sauce and accent the flavors. You can substitute refined white sugar you don’t have raw cane sugar but I personally prefer the latter.
The white vinegar will slow down the fermentation process and add to the overall flavor but you can also substitute other types of vinegar or citric acid from fresh lemons and limes.
Xantham gum is the one ingredient I recommend you do not substitute. Xantham gum is a natural thickening agent that will help stabilize your sauce.
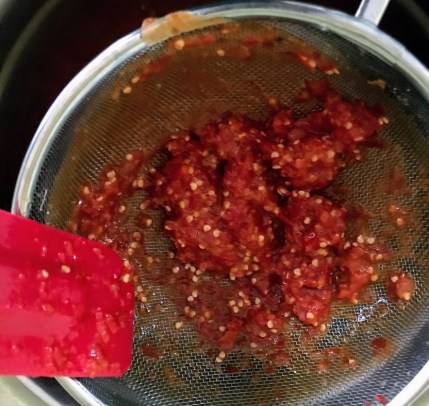
The next step is just to blitz the fermented mixture into a sauce. Transfer your mixture to a blender or food processor and add the final ingredients and buzz it until it is pureed.

Now all you have to do is press the sauce through a wire mesh strainer to remove excess seeds and skin giving your sauce a perfect smooth finish.
Now the last step is the most important!
Taste and enjoy your hot sauce. If you love a spicy kick as much as I do then you will enjoy it on just about anything like pizza, tacos, fried chicken or spaghetti. I even put it on a peanut butter sandwich when I’m craving a nice kick.
I hope you enjoy making your own hot sauces and exploring how far you can go up the Scoville scale. Until the next one, remember to keep it simple but full of love.
